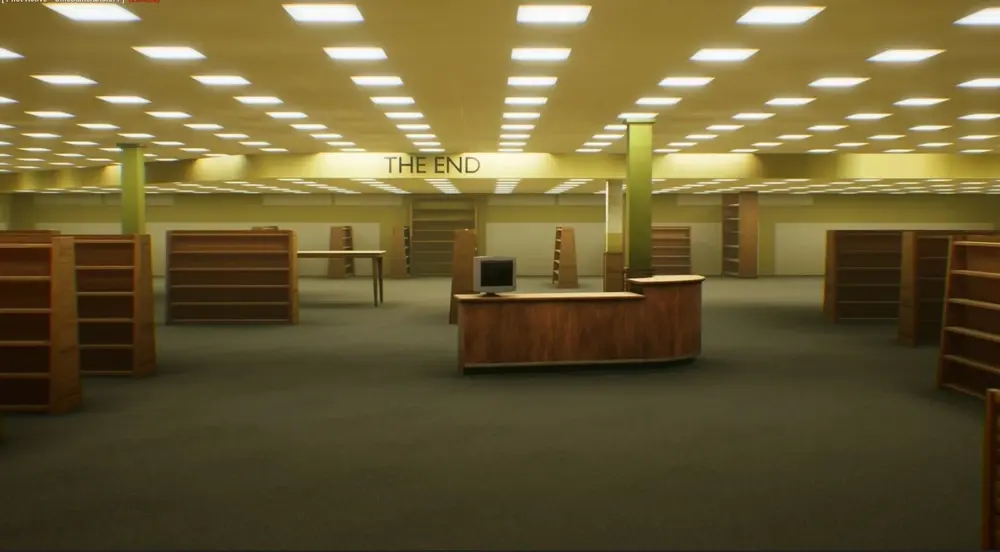
The End Layout
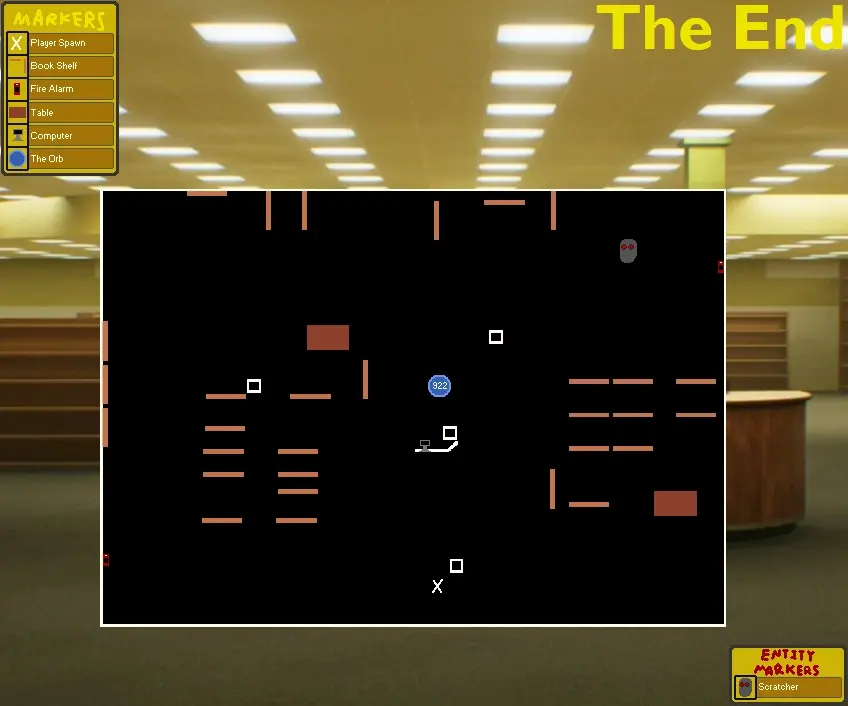 1234
12341: Player Start
Begin here and sweep nearby shelves quietly for tapes.
2: Central Computer
Return here after the required tape count is collected to unlock the damaged-room door.
3: Left Fire Alarm
Triggering an alarm can draw the Scratcher away; it has a cooldown, so use it deliberately.
4: Right Fire Alarm
The second alarm is on the opposite side, enabling a team to redirect the Scratcher before searching the other side.
The numbered route identifies the start, computer, and both confirmed fire-alarm positions. The map also shows tables, which can be used for hiding. The blue Orb icon belongs to an older map version; current progression is computer, unlocked door, ladder, then vent to Level 94.
Average Tape Spawn Reference
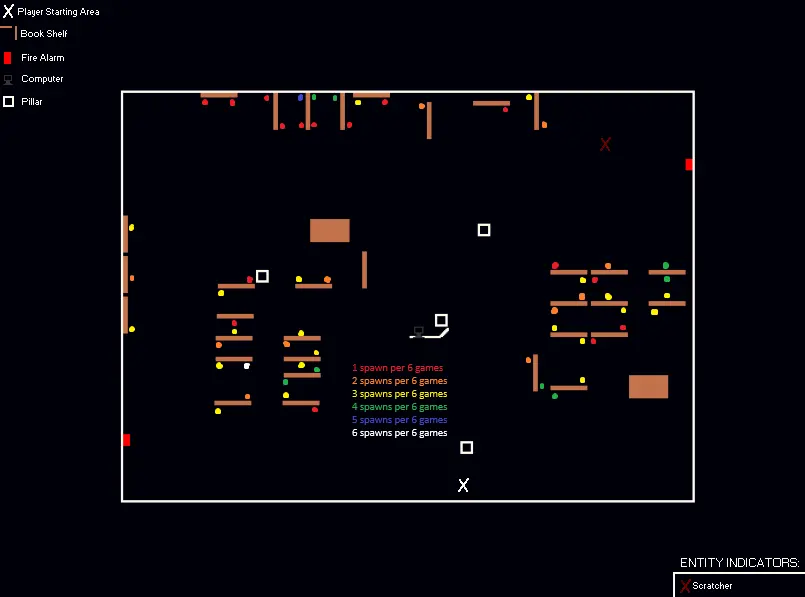 1234
12341: Starting Area
Use this point to decide which shelf block the team searches first.
2: Computer Return
This is the central objective return point after the tape requirement is met.
3: Left Alarm Side
Use this side as one half of a split search after the Scratcher is distracted.
4: Right Alarm Side
Search this opposite side while the distraction gives the team space.
The colored dots show six-game observations, not fixed tape spawns. Use the numbers to split the room into a practical search order, then use the colored observations only as a secondary priority when checking shelves.
Kartenüberblick
Ziel
Sammle Kassetten, kehre zum Computer zurück und benutze Tür, Leiter und Vent zu Level 94. Für die vollständige Reihenfolge der Ziele und die Überlebensstrategie folge Escape the Backrooms: The End (Aktualisiert).
Hinweis
Das Übersichtsbild enthält einen Orb-Marker einer älteren Version. Die aktuelle Beschreibung nutzt den Tür-und-Leiter-Ausgang; Spawn-Farbpunkte sind nur Beobachtungen.