
Multiplayer trigger warning
Make sure this is actually the step you are on. If an item or prompt is missing, backtrack one room and check the inventory first.
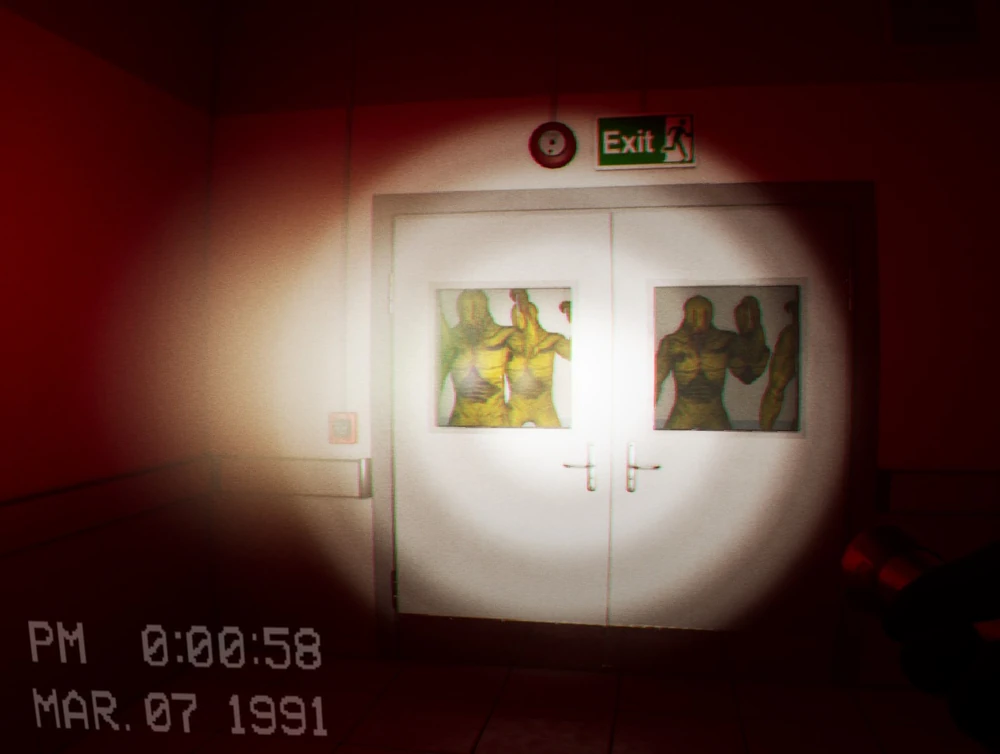
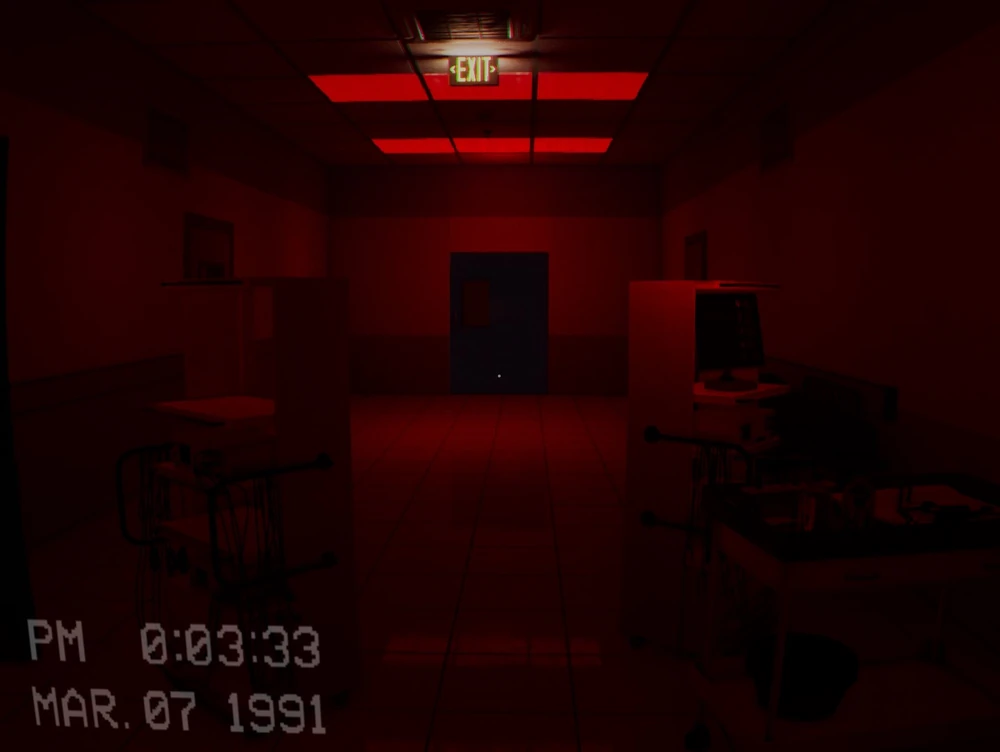
Gather everyone near the first trash can before passing the second door that starts the red hospital chase, then keep moving toward the exit. Clear beds and other tall obstacles with a jump followed by a crouch, watching the gaps ahead instead of the entities behind you.

Level ! (pronounced "Level Run") is a high-octane survival challenge. The environment is a long, infinite hospital corridor bathed in flashing red emergency lights and blaring alarms. Your only objective is to run. Behind you is a horde of entities (Partygoers) ready to kill you instantly if you slow down.
As explained in the video, the chase trigger is scripted based on the player in the front.
To survive the obstacles (hospital beds, chairs, stretchers) without losing momentum, you need to master the Jump-Crouch.
Ctrl or C while jumping. Try binding Crouch to the Right Mouse Button in settings. This makes spamming jump-crouches much smoother.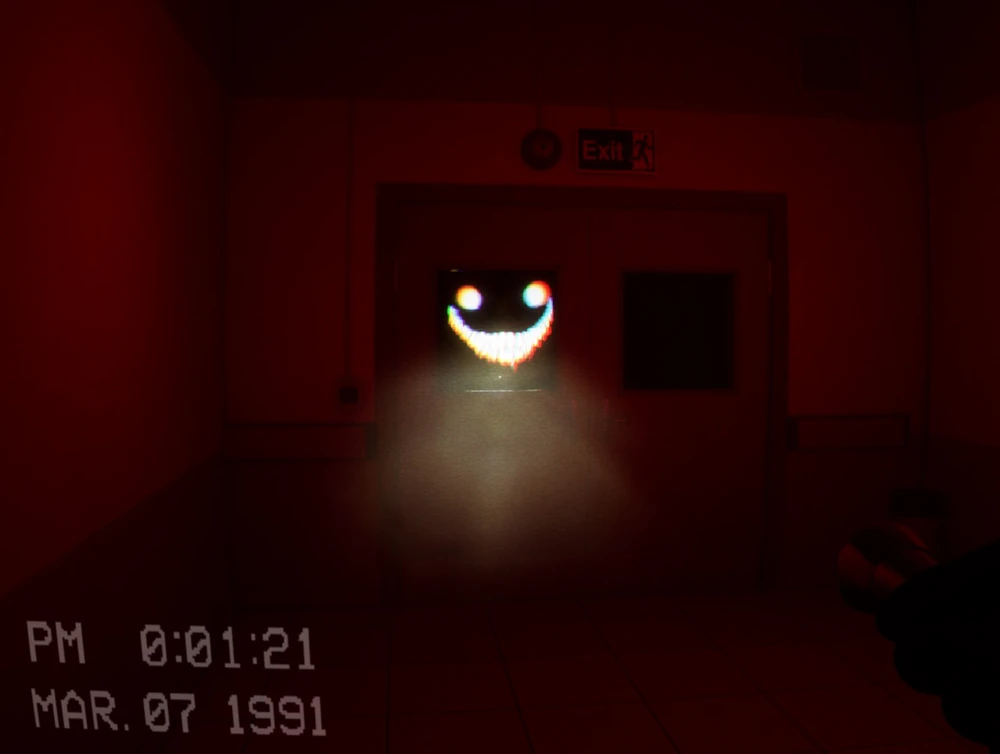
The corridor is filled with random debris, but there is a pattern observed in the walkthrough:
Keep running until you see a door at the end of the hallway that looks like a drop-off or a distinct exit door. Jump through it without hesitation to transport to the next level.
We use this as the quick “don’t make the same mistake twice” checklist. If your room, spawn, or prompt does not match the video, stop and check the normal route first—patches and co-op timing can make an old shortcut look tempting when it simply will not work.
Make sure this is actually the step you are on. If an item or prompt is missing, backtrack one room and check the inventory first.
Look around slowly before guessing. Props can hide chairs, switches, notes, and pickups; a second camera angle is usually faster than brute force.
Call out what was pressed, collected, or opened. It prevents the classic “we all thought somebody did it” reset.
If a skip behaves inconsistently, leave it and take the intended route. A clean run beats getting stuck in geometry.
During RUN!, there is no time for loot calls. Everyone follows the same runner, calls “left” or “right” early, and keeps moving; turning around for one teammate often turns one mistake into a full-party reset.
What each entity does on this route, and the move that keeps the encounter under control.
The Level ! chase includes a Giant Smiler behind the Partygoer pack.
Treat the entire hospital route as one committed sprint. Keep the obstacle lane in view and do not turn around to inspect the pack.
A pack of Partygoers runs in front of a Giant Smiler through the hospital chase.
Sprint the marked route, clear obstacles cleanly, and do not turn around or attempt to hide in the chase lane.