Main Route Guides
29 published guides
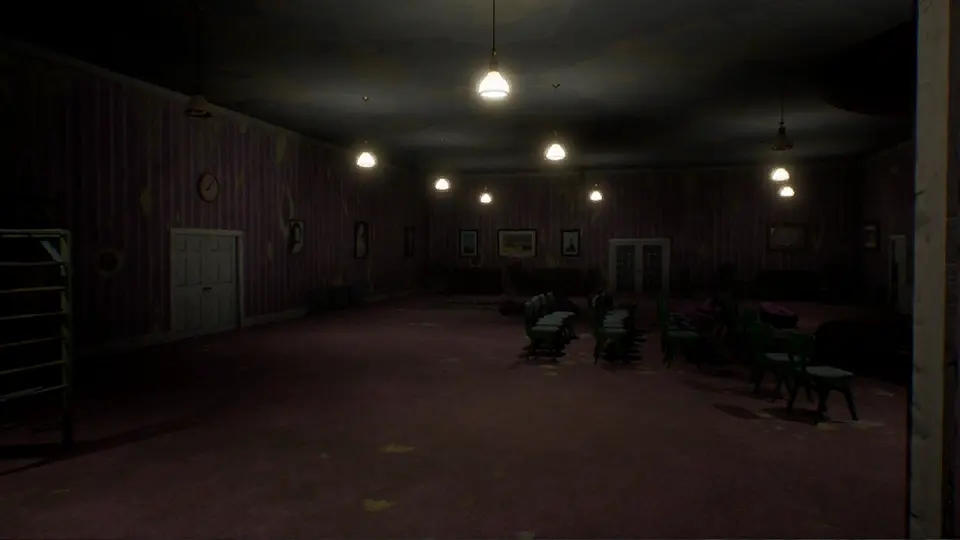
Escape the Backrooms: Level 0
Make the broken ladder your reference point: collect its four fragments, retrieve the key above it, and use that key to reach the pit crossing. Walk the beams carefully; after a fall, use a teammate’s rope or follow the arrow-marked route below to return.
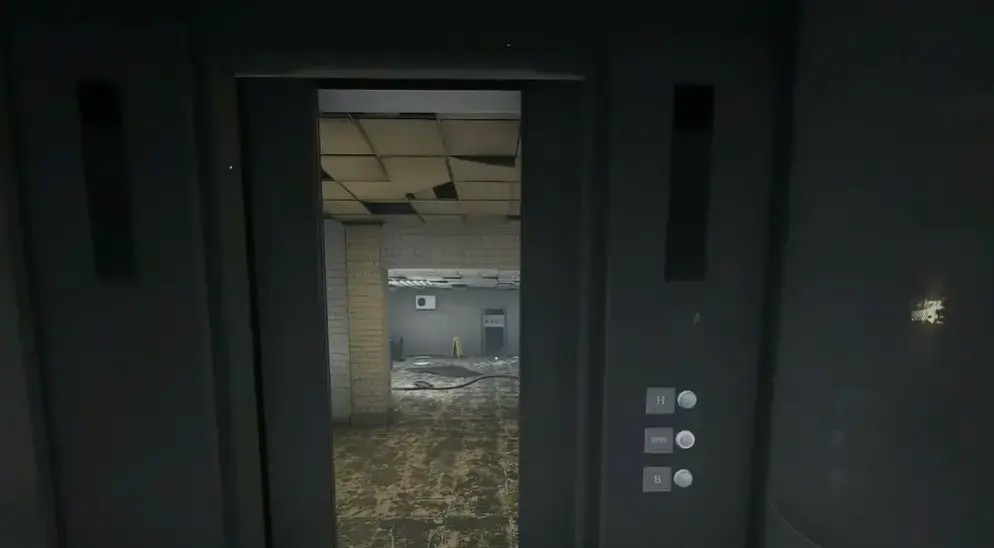
Escape the Backrooms: Level 1
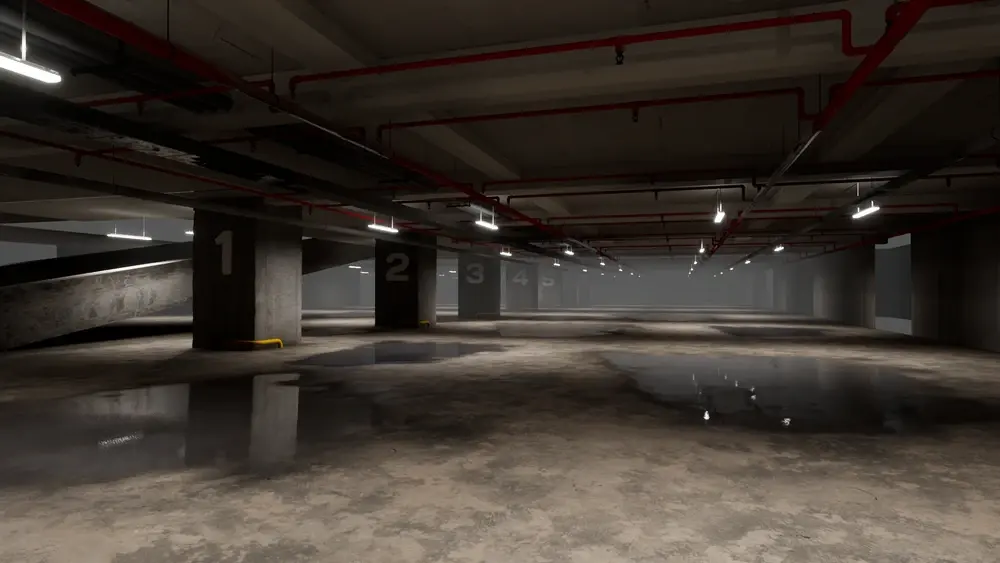
Collect four keys from the garage’s side rooms, bring them to the central locks, and then search the basement for the elevator onward. If a Skin-Stealer interrupts the search, draw it into a room and close the door behind it before resuming your route.
Escape the Backrooms: Level 2
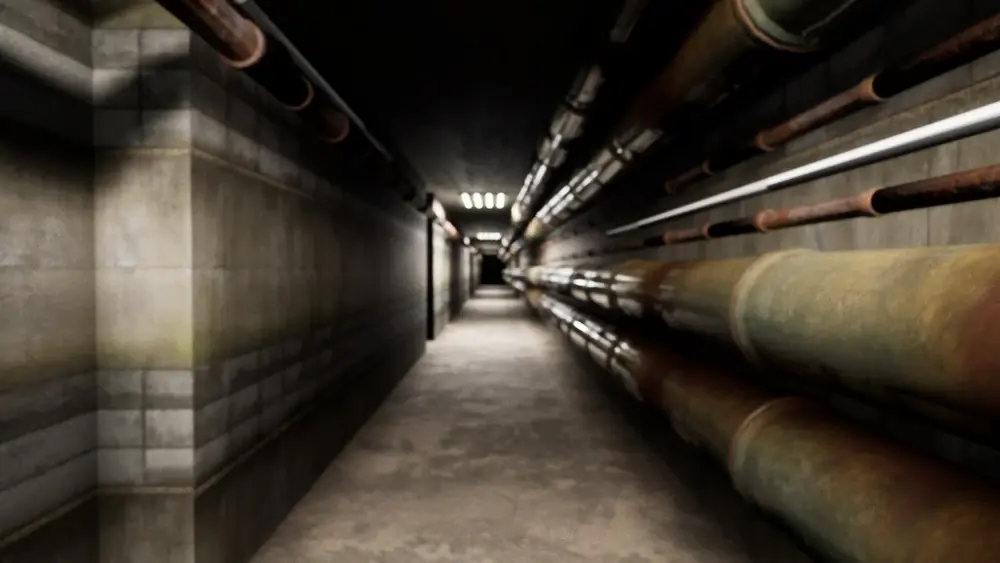
Follow the STATION arrows through Pipe Dreams, timing each steam crossing before the Smiler chase forces a continuous sprint. Once the chase starts, keep your attention ahead and take the gated opening on the left; running past that turn leaves you heading into a dead end.
Escape the Backrooms: Level 3
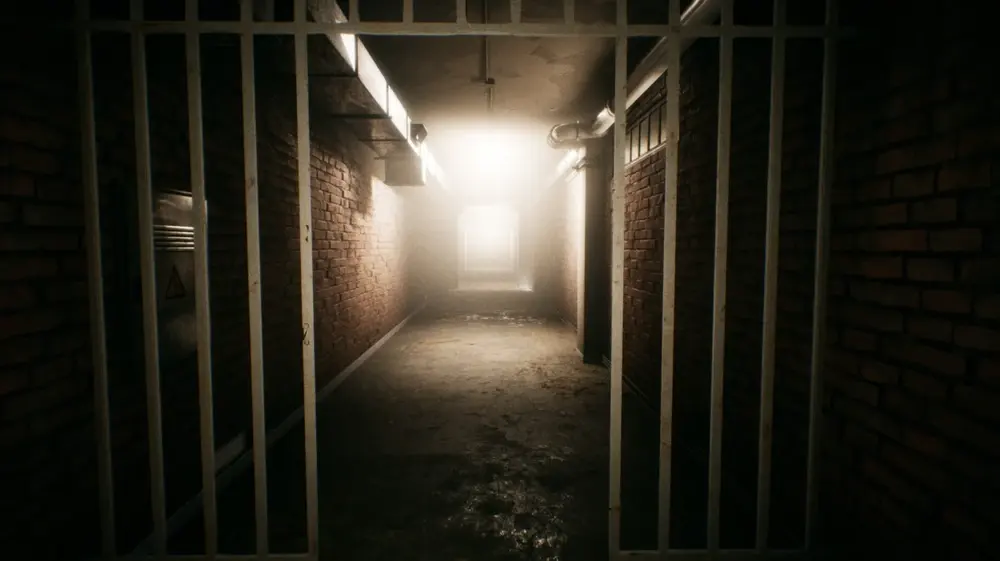
Use the nine lights at the Electrical Station entrance to track your breaker search, clearing each group of three before entering the next area. If a Hound blocks a switch, choose a retreat door before using the flashlight, and keep your escape path clear of electrified puddles.
Escape the Backrooms: Level 4
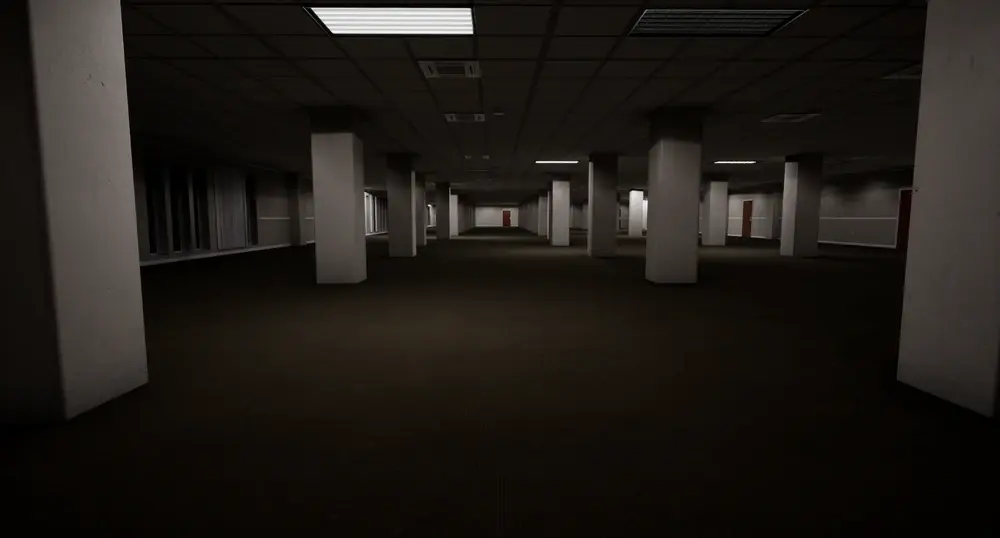
Read each vending-machine symbol and count the matching objects in the office, then work through the camera section toward the exit. A red camera means the route needs resetting: return to the reset control before trying again, rather than leaving the group waiting at the locked door.
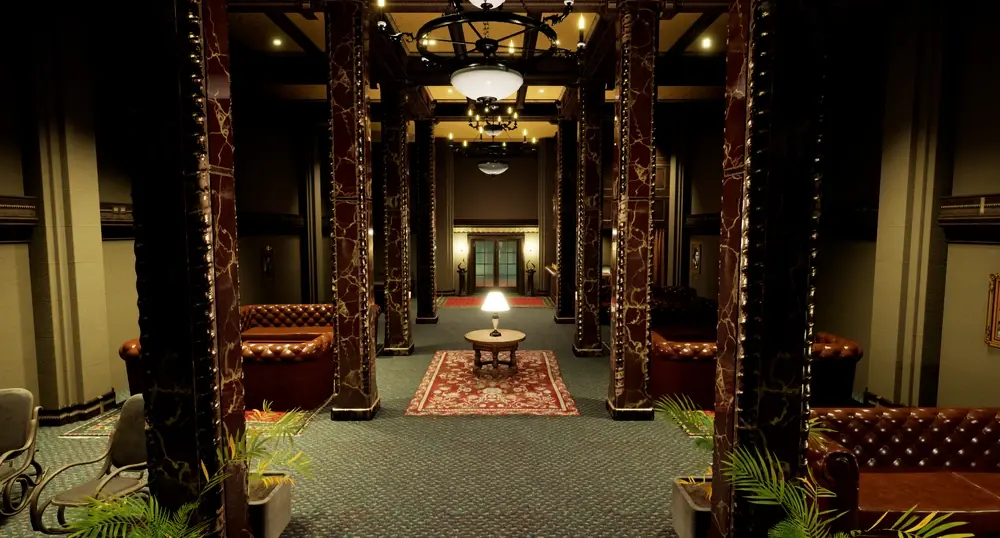
Escape the Backrooms: Level 5 Terror Hotel
Follow the hotel portraits from youngest to oldest, then collect Moth Jelly to exchange at the service window for the three exit keys. Reserve enough jelly for those trades before consuming any for sanity, and stop trading once you have all three keys because extra jelly earns nothing.
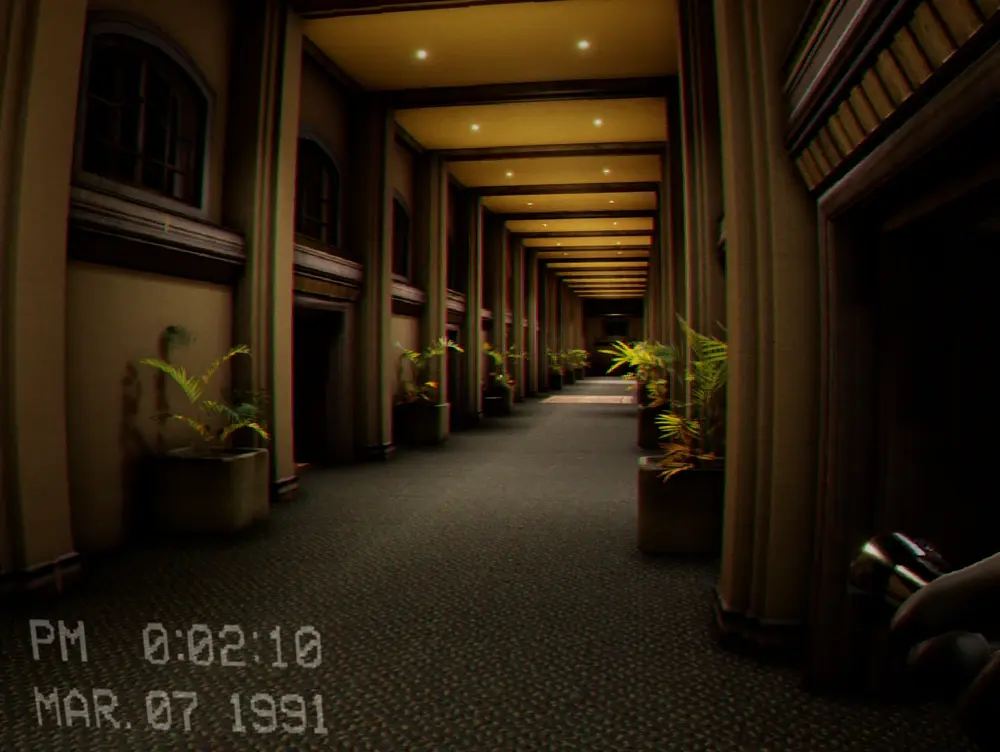
Escape the Backrooms: Level 5.5
Start the Beverly Room loop at the open mailbox, follow its room number, and read the five ceiling digits needed at the exit. If the Hound takes the corridor, retreat into a guest room and close the door, then resume from the last room number you confirmed.
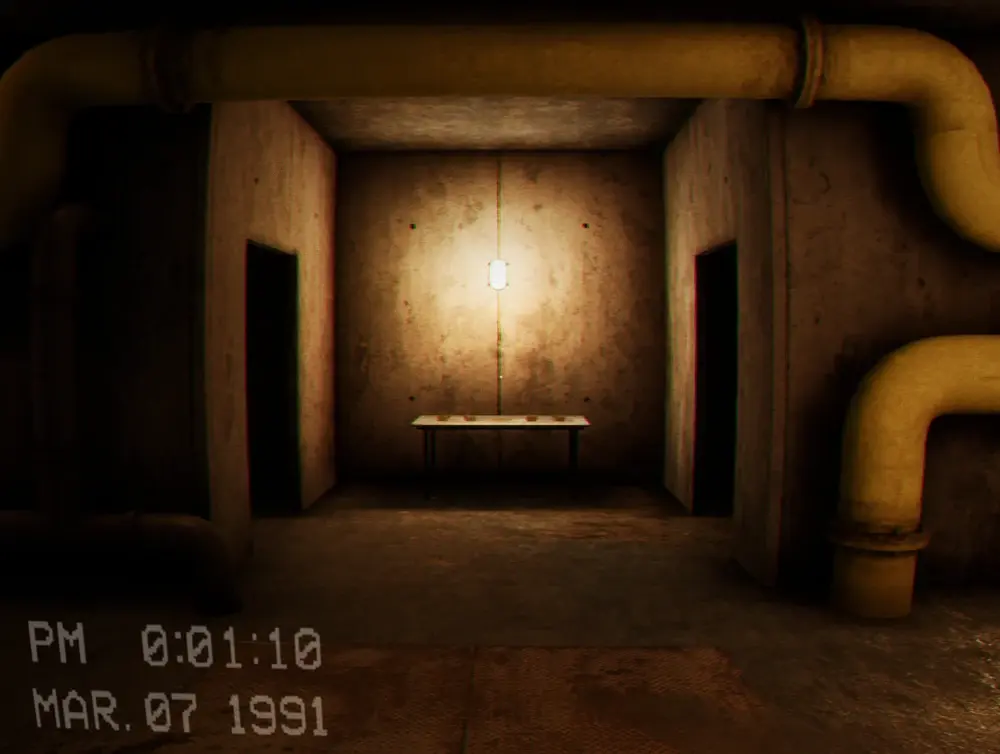
Escape the Backrooms: Level 5 The Boiler Room
Find the Boiler Room door with the illuminated EXIT sign while using temperature and heat distortion to identify nearby Deathmoths. When a moth blocks a corridor, keep your flashlight off it and use the red Bug Spray valve to create an opening before moving through.
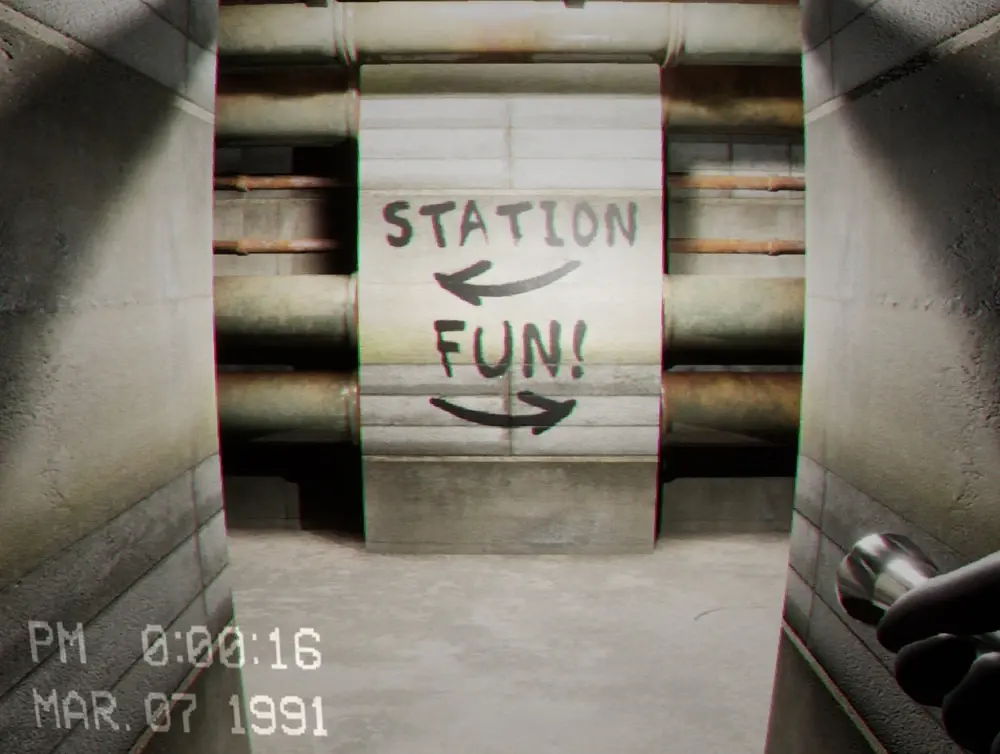
Escape the Backrooms: The Pipe Run
Take the FUN-marked branch after the Boiler Room and follow the tunnel to the ladder room that leads into Level Fun. Once the Smiler chase starts, keep sprinting and watch for the illuminated doorway on the right; turning back or catching a pipe can cost the escape.
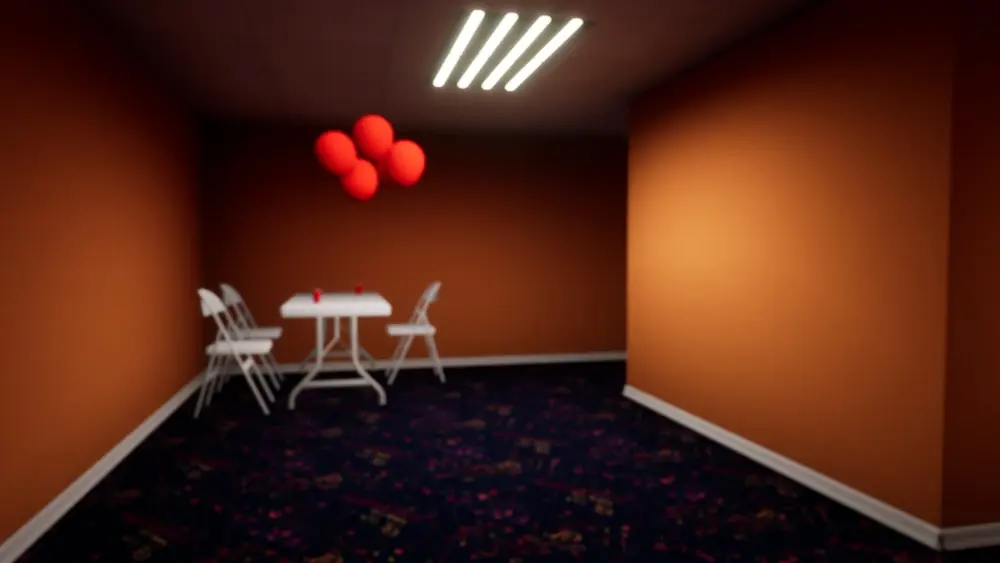
Escape the Backrooms: The Party Rooms
Crouch between cover in the Party Rooms, watch the Partygoer patrols, and work toward the final door and slides into the Poolrooms. If spotted, break line of sight before ducking under a table, then wait for the route to clear before leaving cover.
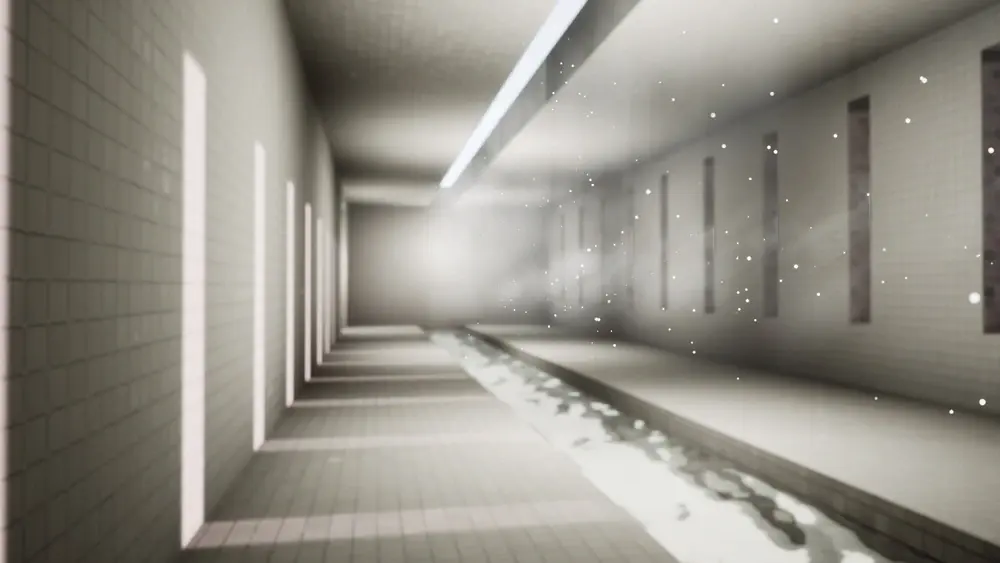
Escape the Backrooms: Level 37
From the Poolrooms entrance, take the right-hand opening and turn right again at the main junction, following the wavy rooms toward the red hallway. If a spiral stair takes you toward the Hot Water Zone, turn back; use the larger room shapes to regroup before continuing.
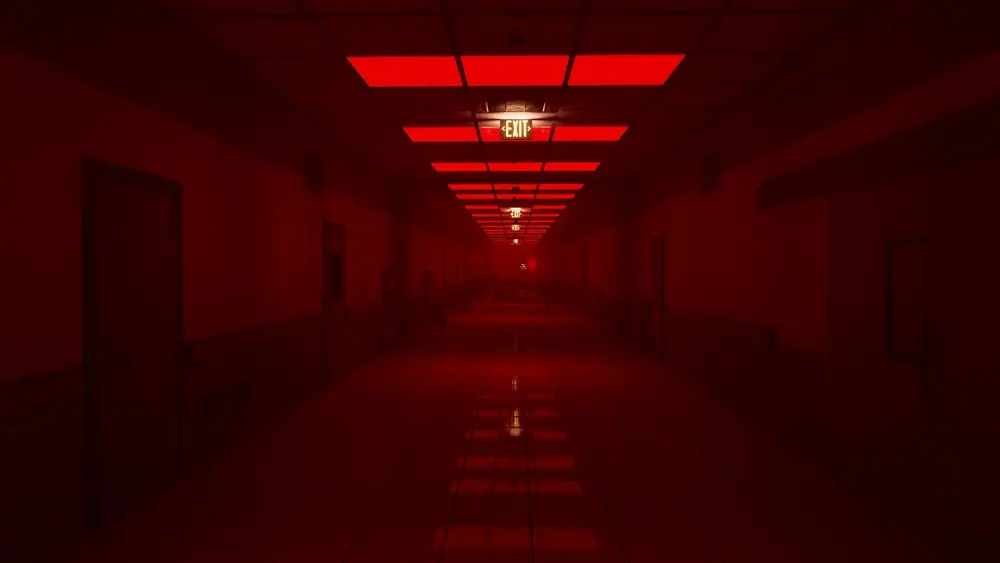
Escape the Backrooms: Level !
Gather everyone near the first trash can before passing the second door that starts the red hospital chase, then keep moving toward the exit. Clear beds and other tall obstacles with a jump followed by a crouch, watching the gaps ahead instead of the entities behind you.
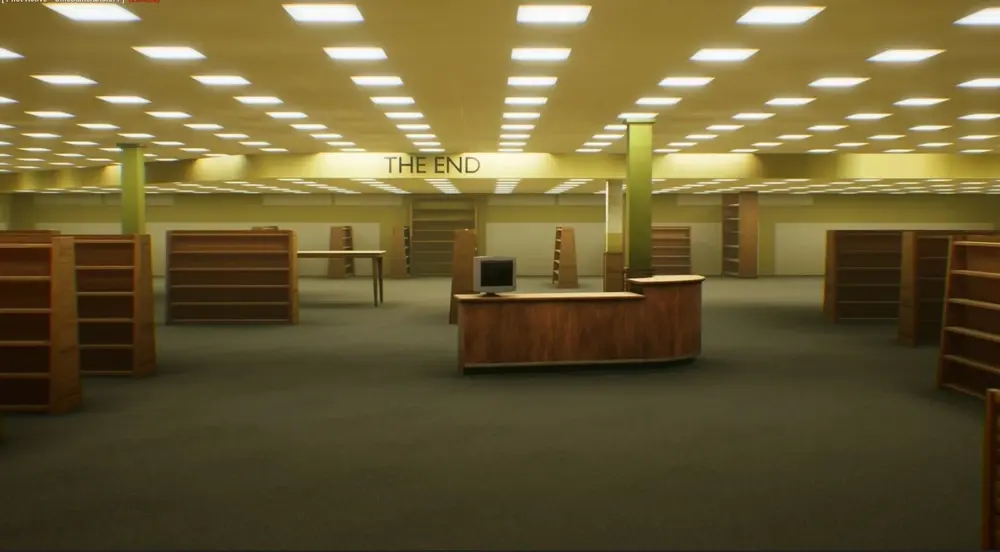
Escape the Backrooms: The End (Updated)
Read the tape target at The End’s computer, clear the library shelves in complete sections, and return to the computer once that target is met. Use an opposite-side fire alarm to open a search window; if the Scratcher is already chasing you, shelter under a usable table.
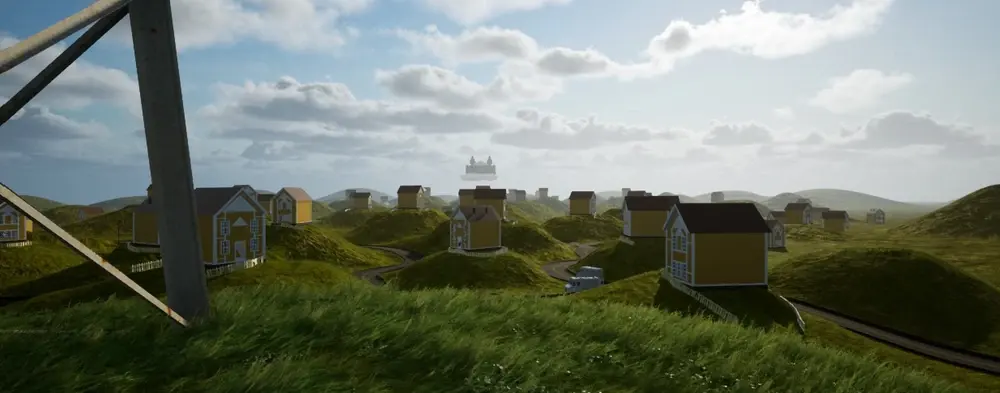
Escape the Backrooms: Level 94 (Motion)
Use daylight in Level 94 to reach the floating castle, then solve the shape puzzle and survive until the rollercoaster arrives. If night catches you on the hills, hide under a bed or in a wardrobe inside a house with the lights off; in the funhouse, keep the Clown in sight while the timer runs.
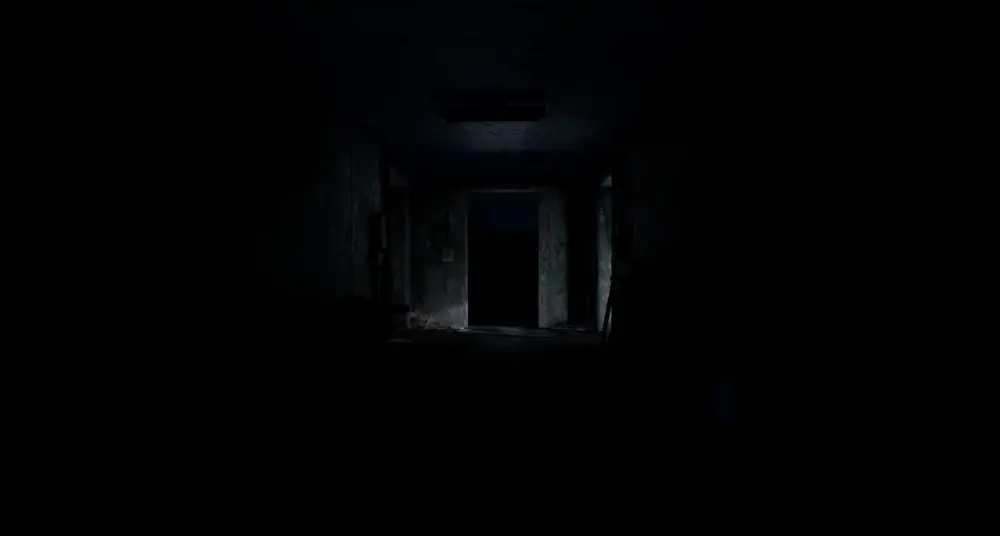
Escape the Backrooms: Level 6 (Lights Out)
Collect the LiDAR scanner and use its outlines to follow the larger corridors of Lights Out toward the white residential exit door. Near a Wretch, crouch and let it pass before moving; if you reach a dead end, retrace quietly instead of sprinting back into its path.
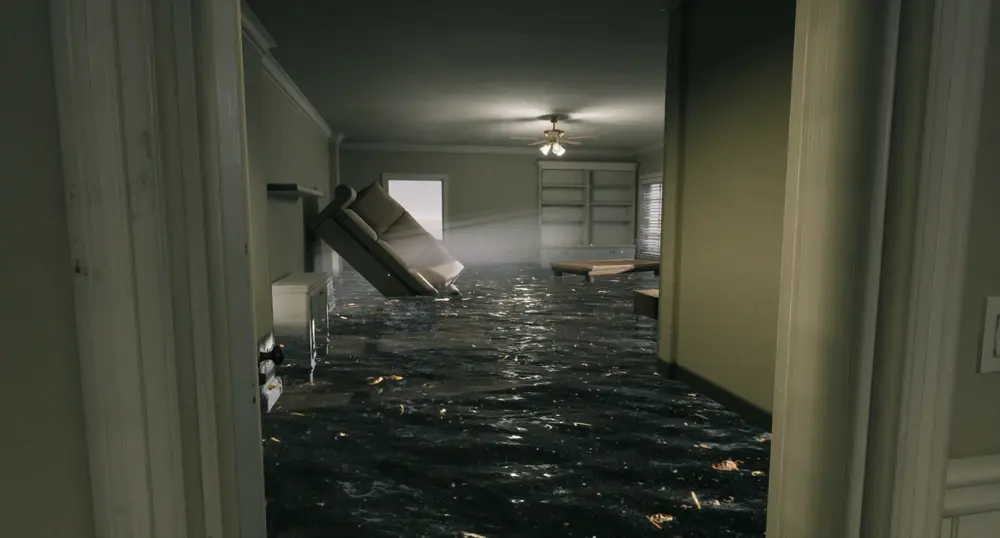
Escape the Backrooms: Level 7 (Thalassophobia)
Cross the ocean toward the lighthouse, equip the diving helmet at the pier, and enter the cage to reach the underwater cave route. Take the nearby boat to avoid the fish during the surface crossing; if the cage will not descend, check that the helmet is equipped.
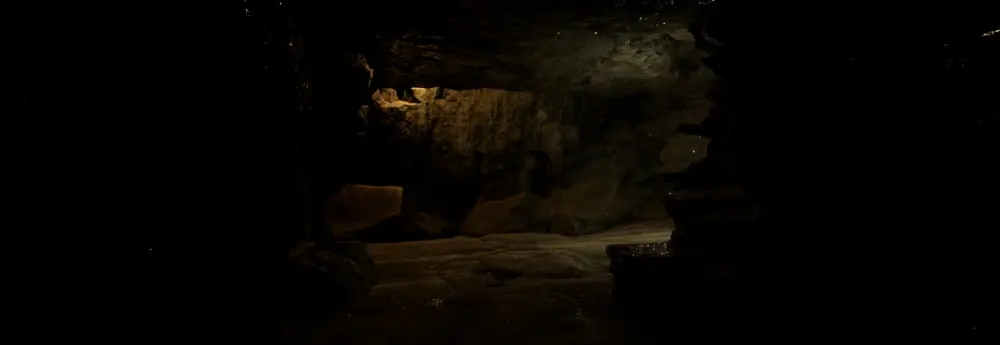
Escape the Backrooms: Level 8 (Cave System)
Move through the cave airlocks with the group together, crouch near Deathmoths, and cross the suspension bridge on foot one player at a time. If a Skinstealer spots you, use a doorway or sharp bend to break its view before returning to the route toward the exit ladder.
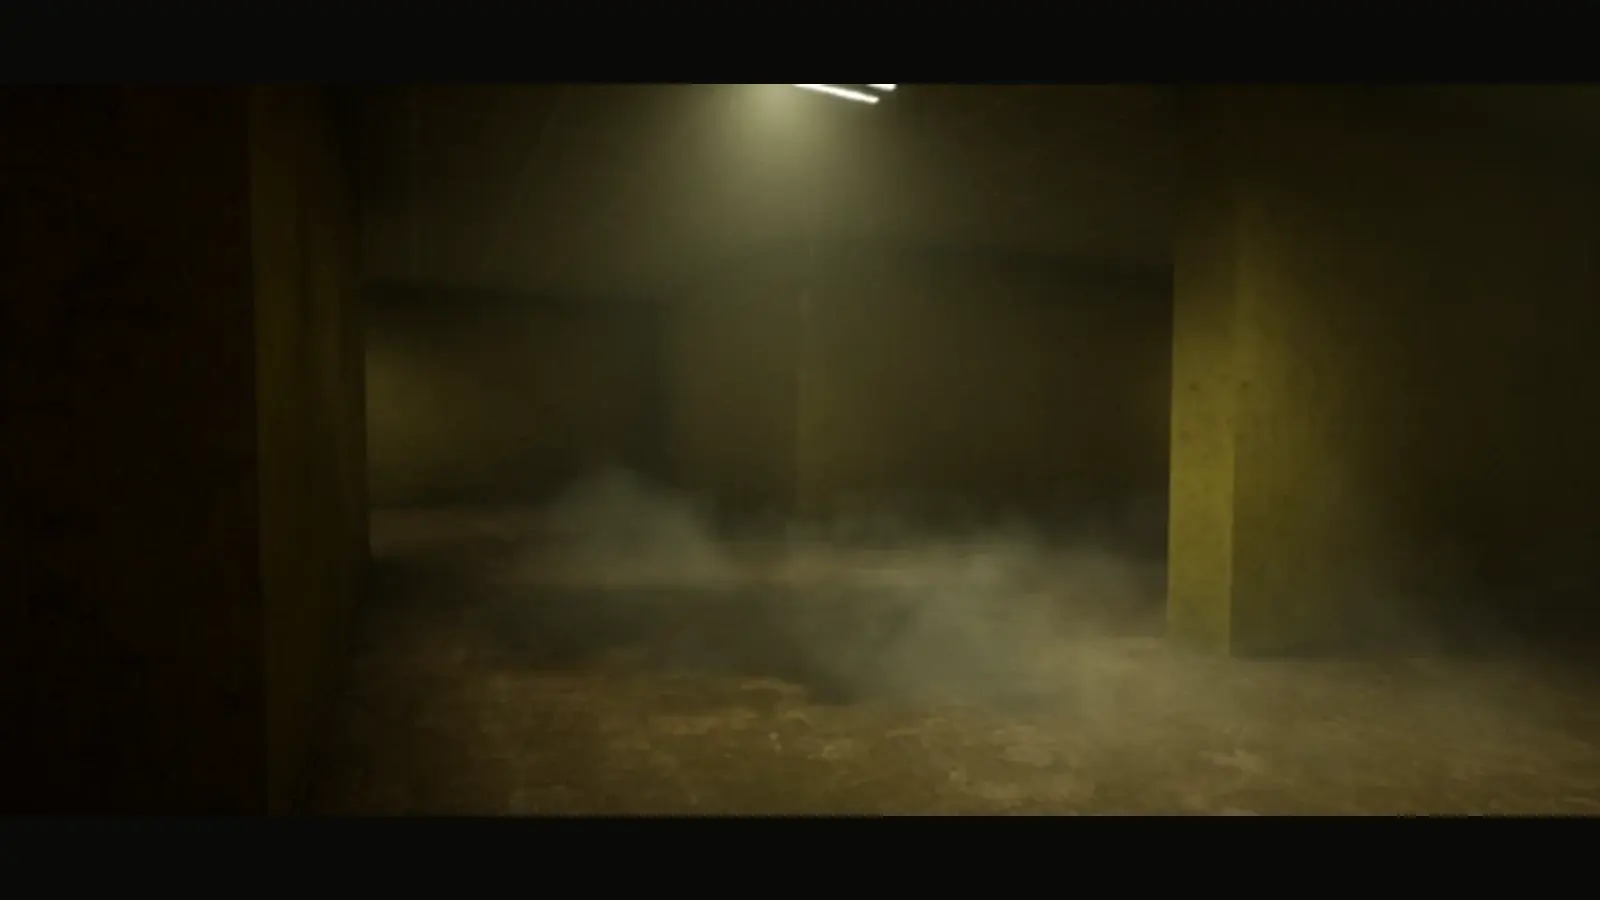
Escape the Backrooms Level 0.11 Guide: Water Damage
Prepare the chainsaw route, follow the painted arrows through Water Damage, and locate all four levers before starting the shutter attempt. If the gate closes too soon, recheck the lever rooms and coordinate the next pull; the courtyard code 415314 is only useful after everyone reaches the far side.
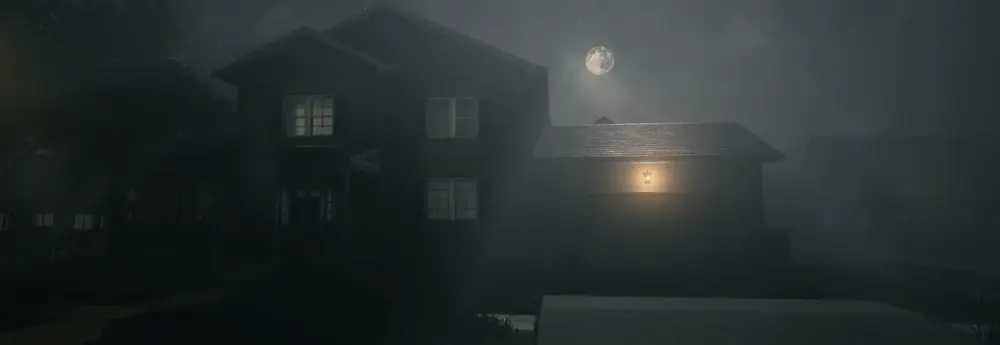
Escape the Backrooms: Level 9 (The Suburbs) & The Lab
Activate the house terminals in the Suburbs to open the laboratory, then collect four concentrate bottles and obtain the exit badge through the treatment puzzle. If the street search stalls, return to the security monitor: terminal locations change between runs, so a remembered house route may miss one.
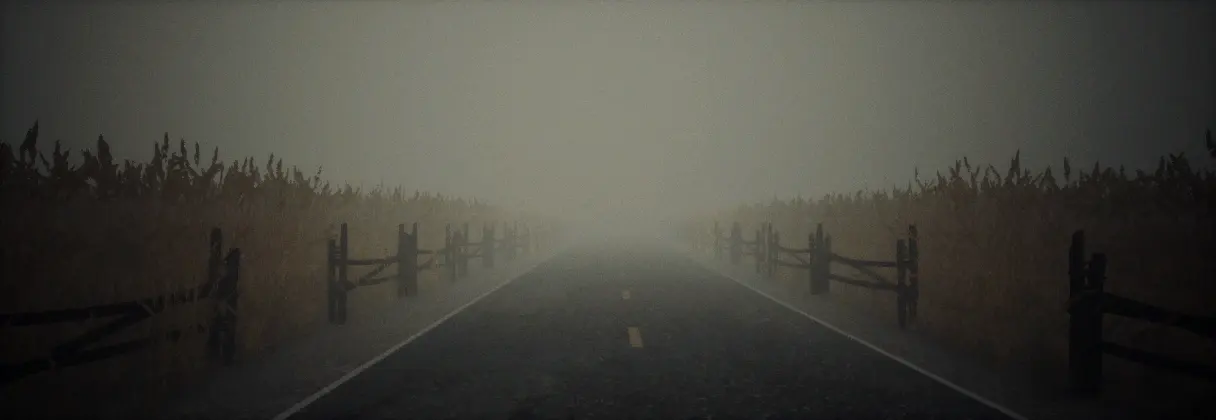
Escape the Backrooms Level 10 Guide: Wheat Field Shortcut to Arcade
Use the windmill lights to work across Level 10 toward the Arcade while keeping distance from the creatures in the fields. If the revolving entrance will not let your co-op group through, bring the host close to the door before searching for another route.
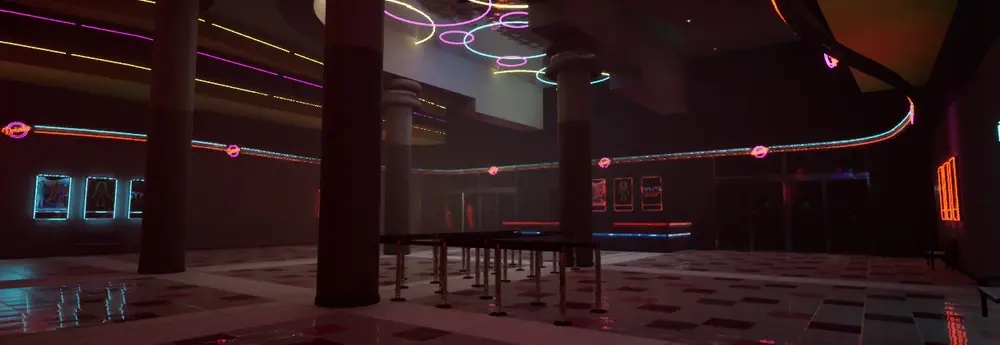
Escape the Backrooms Level 3999 Guide: Arcade Ticket Location & Code
Find the prize ticket in the Arcade and enter its code, 931, at the elevator to continue into the M.E.G. route. Reaching this safe hub does not by itself unlock the true ending; if that route remains unavailable, check which earlier levels still need completion.
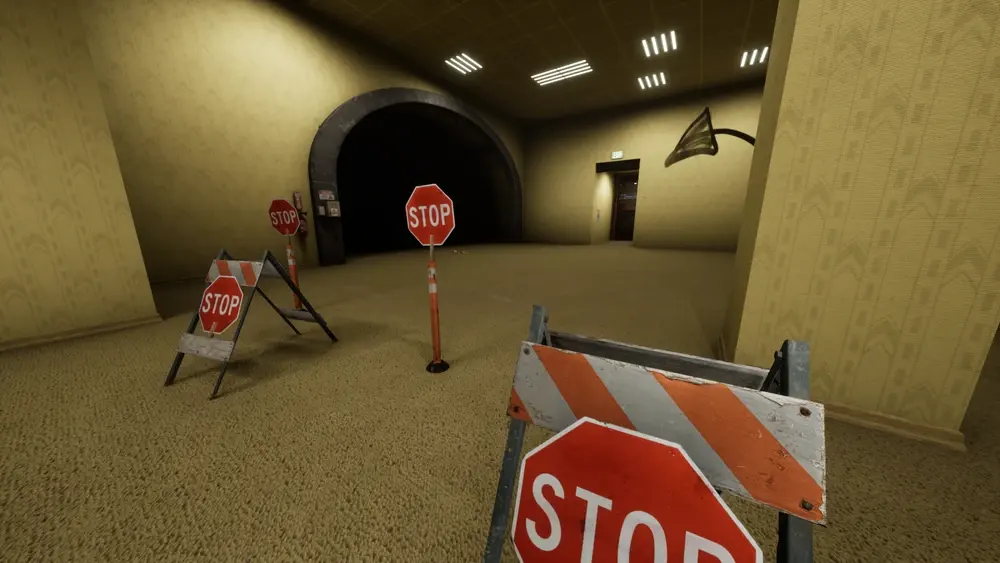
Escape the Backrooms: Level 0.2 'Ancient Path' Speed-Run & Exploit Guide
Read the renovation blueprint, then work through the five numbered lower and upper gate pairs to unlock the master exit in Ancient Path. If an upper gate stays shut, return to its matching lower gate and check the indicator before trying a different corridor.
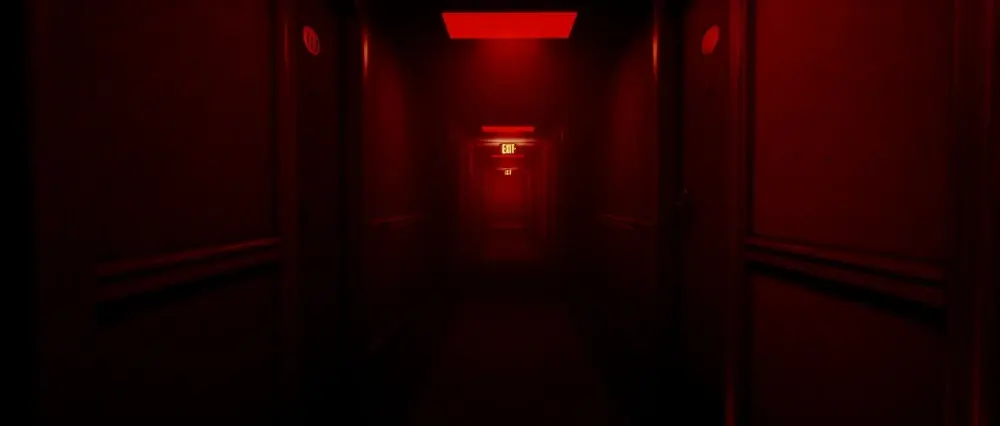
Escape the Backrooms: Level '!!' (Double Exclamation) Guide
Set up the M.E.G. pressure plates before the Level !! chase, then take the left route to the stairs and right, left, right afterward. In co-op, keep the plate holders in place until the runner returns safely; releasing a plate early closes the gate on the route.
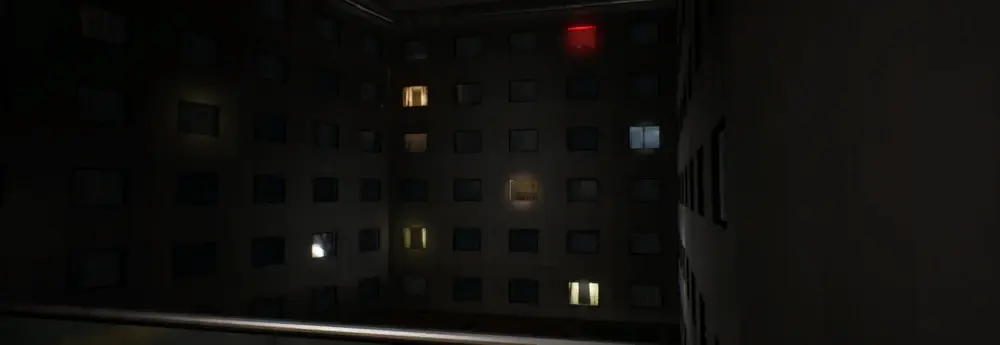
Escape the Backrooms: Level 188 'Courtyard' Walkthrough & TV Skip Exploit
Bring the three lettered televisions to their matching positions in Level 188, using the freight elevator to move the carts between floors. If a cart will not enter an elevator, check which shaft you chose before pushing again: the passenger elevator blocks the televisions.
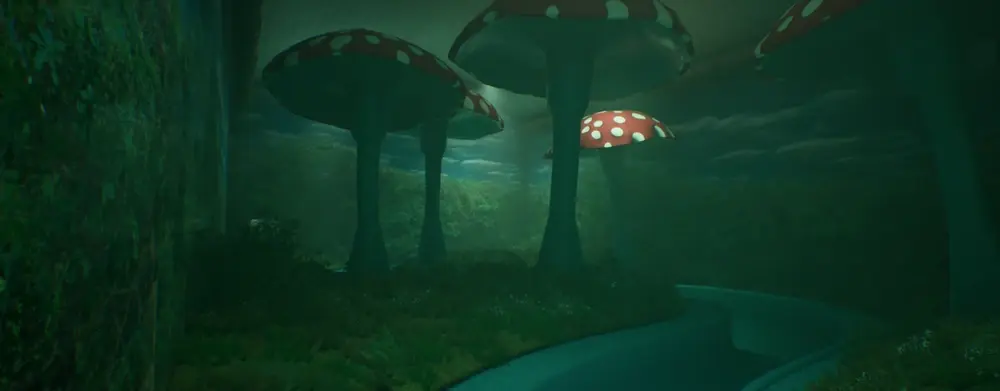
Escape the Backrooms: Level 37.2 Dark Poolrooms Guide
Adjust the water levels in the three sections of Level 37.2 by working through the groups of four, three, and seven valves while limiting contact with the harmful water. Before crossing a channel, check for a usable wall ledge; walking through the pool can cost the health needed to reach the next valve.
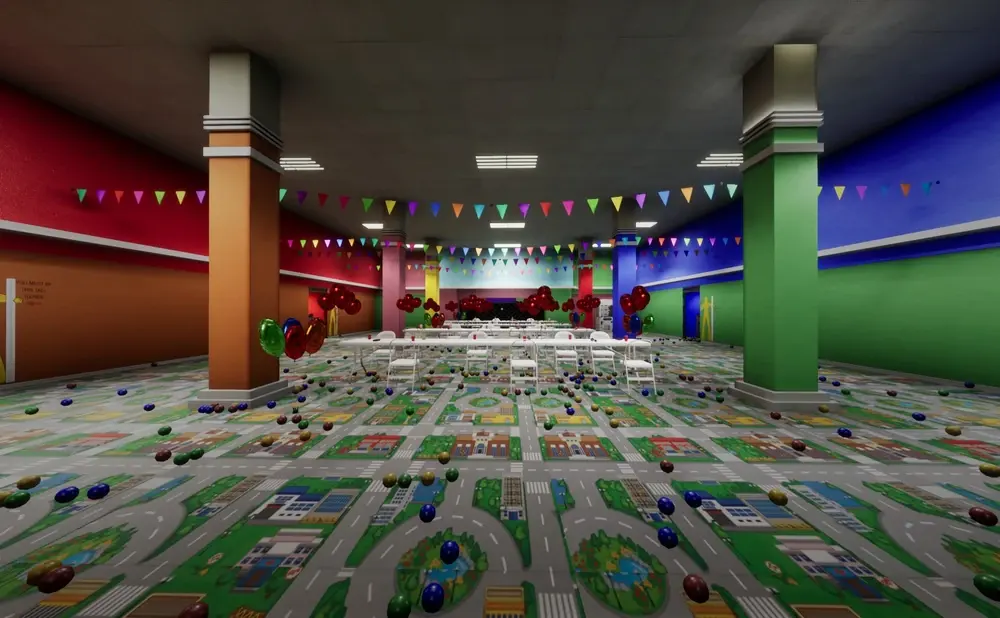
Escape the Backrooms Level Fun+: All Color Codes & Claw Machine FPS Hack!
Collect one key from each of the four puzzle rooms in Level Fun+ and return them to the machine in the central hub. If the darkroom key stays locked, look at the overhead indicator bulbs and recheck the glow-stick matches before searching for another item.
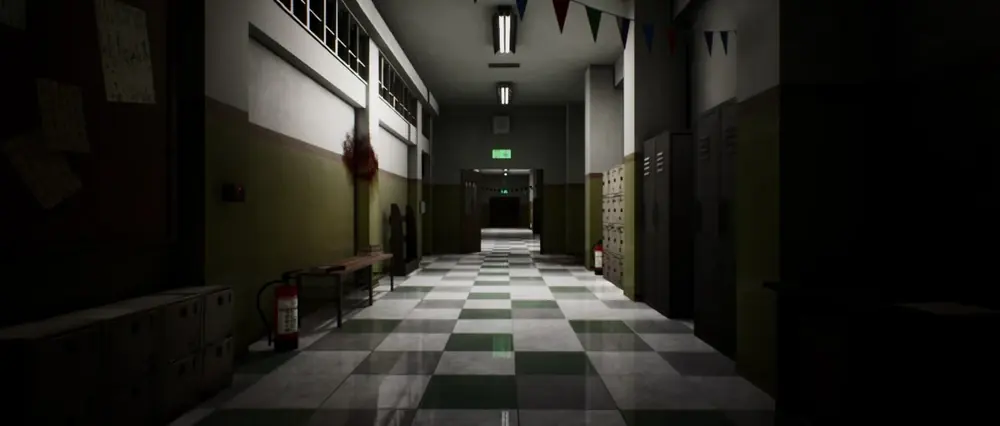
Escape the Backrooms Level 52 Guide: School Halls & Bounty Hunter Path
Enter the doorway marked 52 and follow the companion through the school corridors toward the exit, keeping track of where the guide crouches and stands. Avoid standing as soon as the companion does; first reach the same floor position so a gap in cover does not expose you.
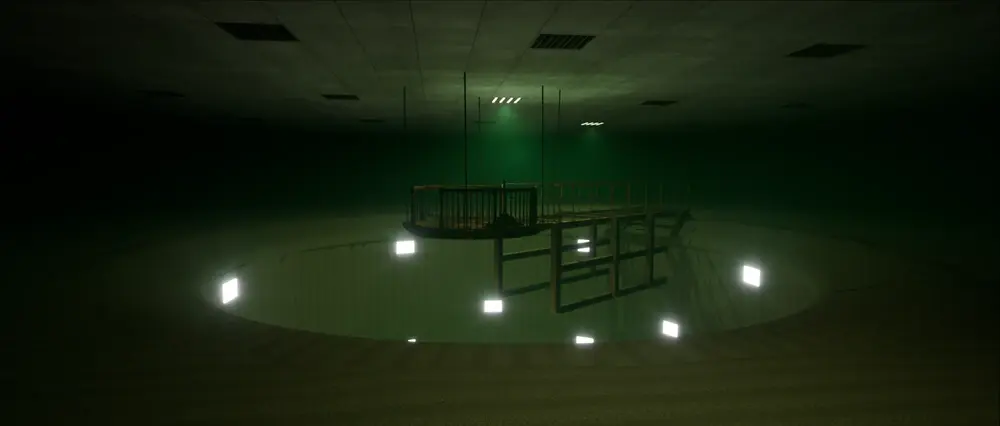
Escape the Backrooms Level 55.1 Guide: Normal Ending & "Wrong Door" Secret Ending!
Pick up the camera, complete its starting photo prompt, and lower the elevator car before descending to photograph the entities in Level 55.1. If the exit route is blocked afterward, check both the objective tracker and the car position before repeating the dangerous photography loop.
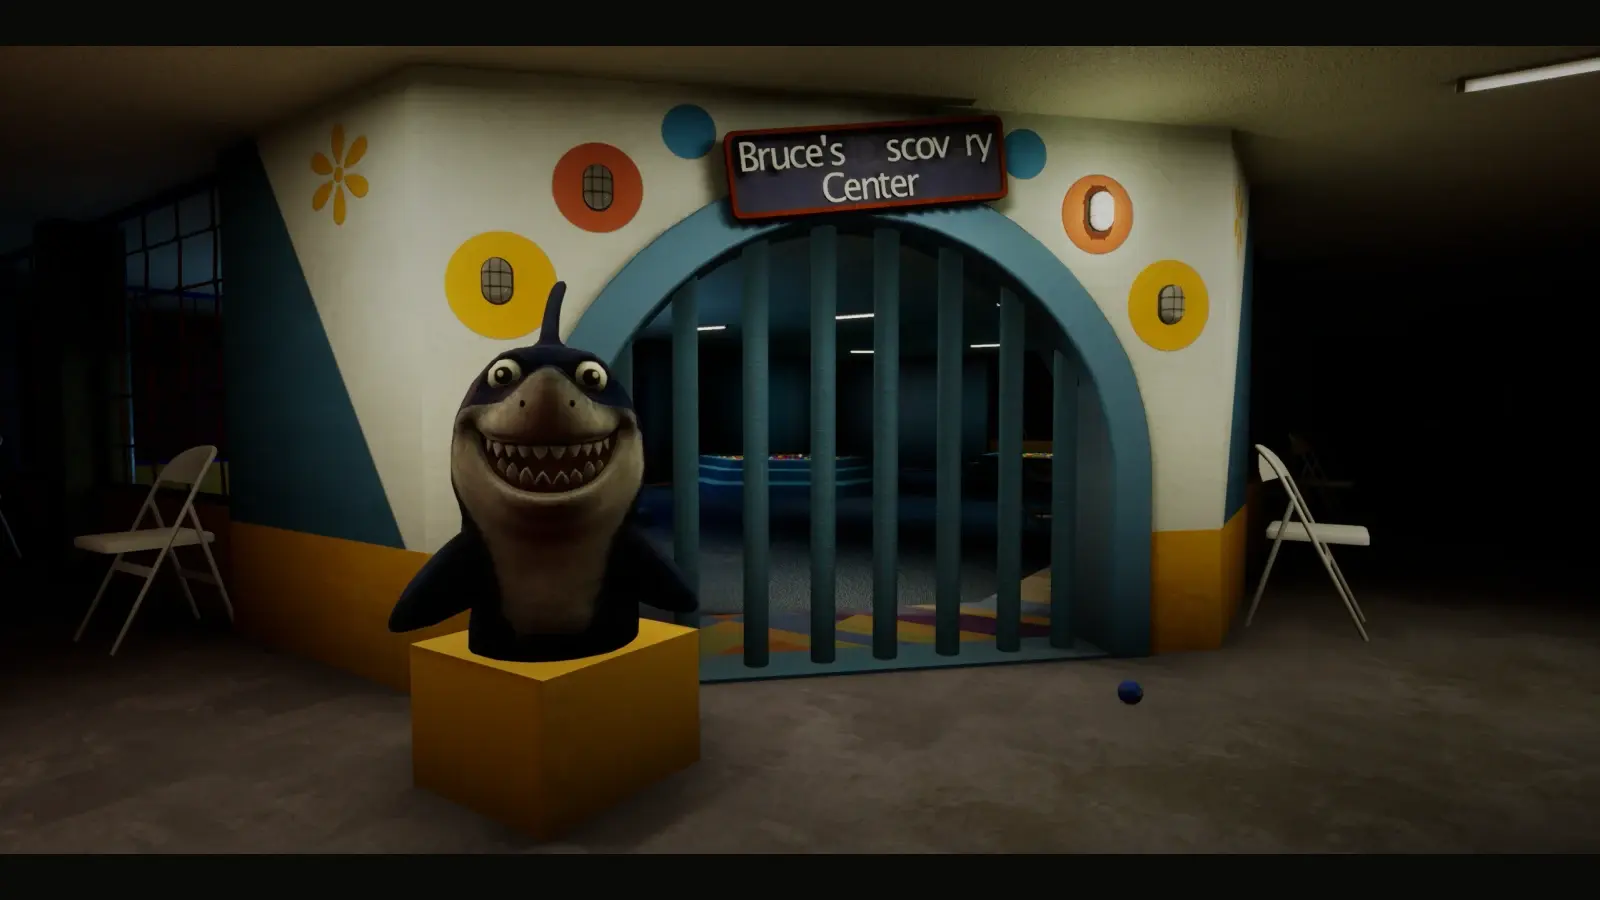
Escape the Backrooms Level 421 Guide: Plastic Mariana
Work through the numbered-container and flower puzzles in Level 421, then activate four lighthouses and score in all four hoops to finish the route. If the opening keypad refuses your answer, rebuild the colors in container-number order and check the mixed pair instead of copying the video sequence.