
Critical Setting: Remove the Fog
Make sure this is actually the step you are on. If an item or prompt is missing, backtrack one room and check the inventory first.
Cross the ocean toward the lighthouse, equip the diving helmet at the pier, and enter the cage to reach the underwater cave route. Take the nearby boat to avoid the fish during the surface crossing; if the cage will not descend, check that the helmet is equipped.
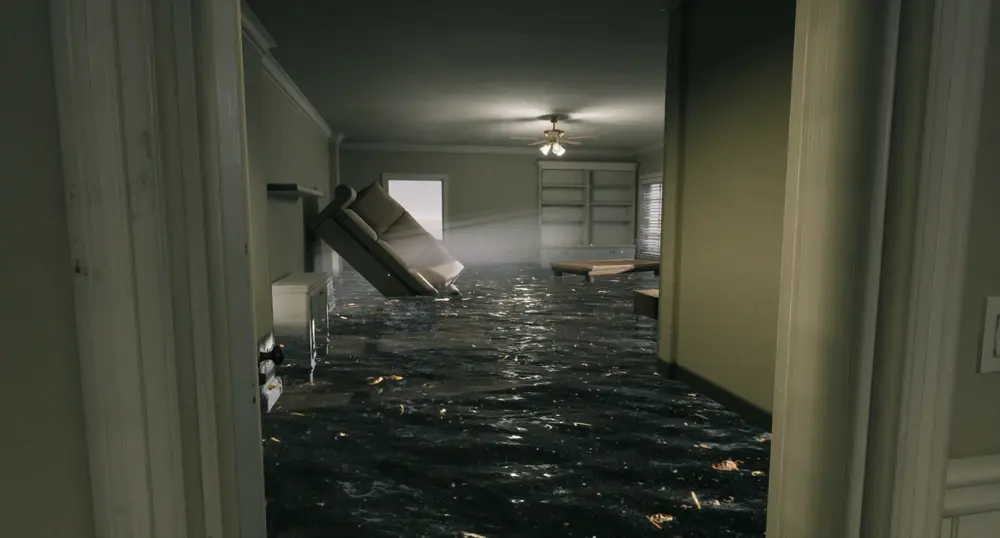
You enter via a door from Level 6.
Once you exit the house, you are in the open ocean. There are two main threats: the distance and the fish.
Normally, this level becomes covered in a thick, blinding fog halfway through your swim. However, you can remove this entirely:
Straight ahead from the start, there is a house on stilts. On the second floor, you can find a Flare Gun.
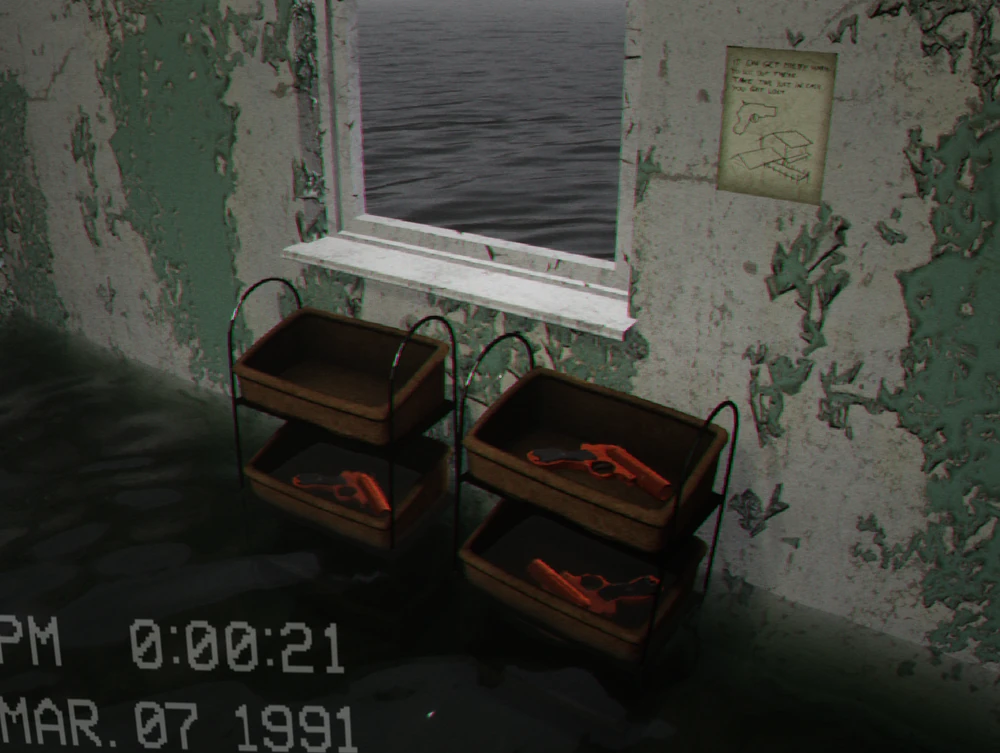
Your main objective is the massive Lighthouse visible in the distance (especially clear with shadows turned off). Swim or boat towards it.
As the cage lowers, look to your left. You will see a massive Angler Fish (resembling the bacteria/worm entities) circling the area.
Navigation here is tricky due to the darkness.
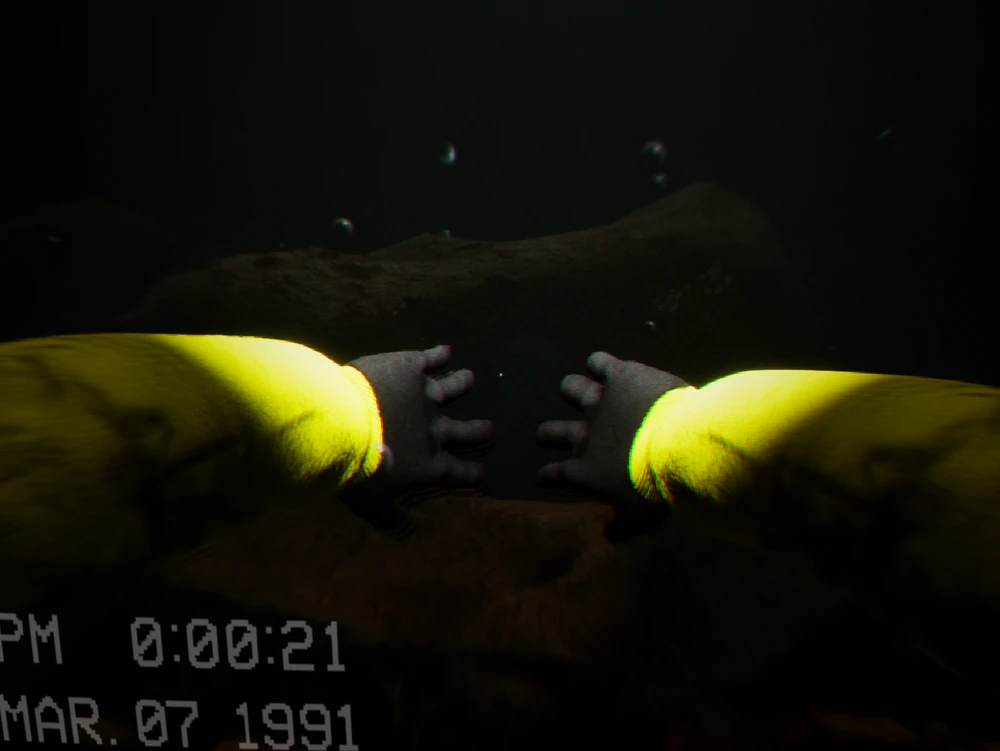
Surfacing in the cave pool will lead you directly to Level 8.
We use this as the quick “don’t make the same mistake twice” checklist. If your room, spawn, or prompt does not match the video, stop and check the normal route first—patches and co-op timing can make an old shortcut look tempting when it simply will not work.
Make sure this is actually the step you are on. If an item or prompt is missing, backtrack one room and check the inventory first.
Look around slowly before guessing. Props can hide chairs, switches, notes, and pickups; a second camera angle is usually faster than brute force.
For Thalassophobia, decide whether the group is using the boat or swimming before leaving shore. Keep the diving-helmet objective with the group and do not send one player into the deep section without a return landmark.