
Find the LiDAR scanner
Make sure this is actually the step you are on. If an item or prompt is missing, backtrack one room and check the inventory first.
Collect the LiDAR scanner and use its outlines to follow the larger corridors of Lights Out toward the white residential exit door. Near a Wretch, crouch and let it pass before moving; if you reach a dead end, retrace quietly instead of sprinting back into its path.
You arrive in Level 6 via the roller coaster from Level 94. The area is pitch black.
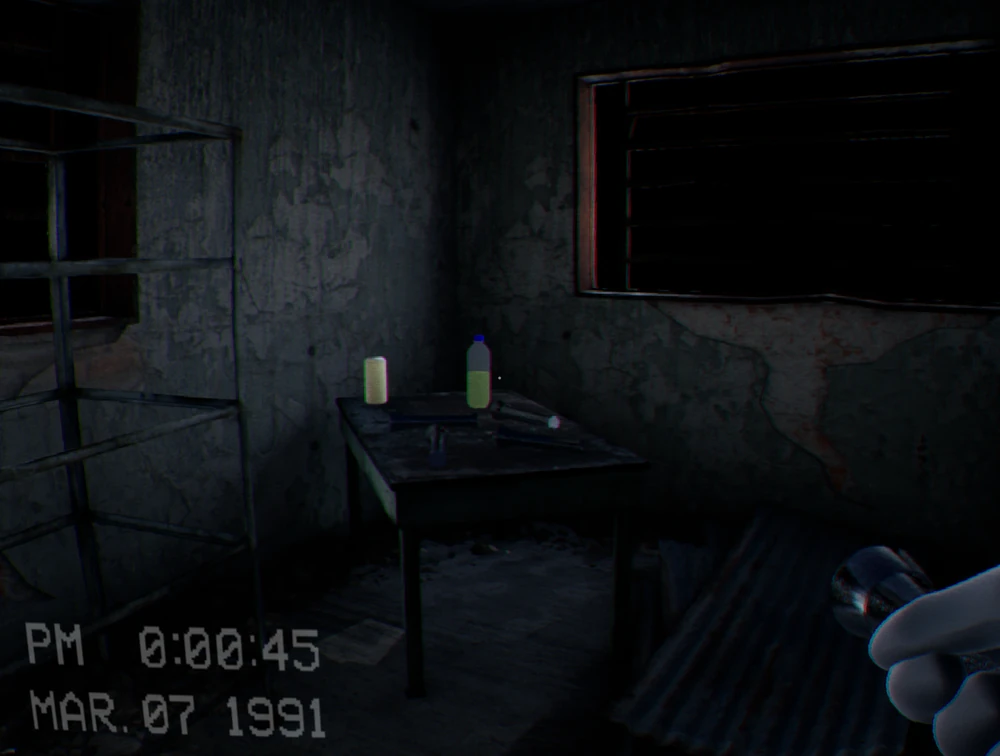
From the starting area, follow the path forward past a table with a drawer. Continue navigating carefully until you reach a room with computers and equipment on a table. Here you will find the LiDAR Scanner.
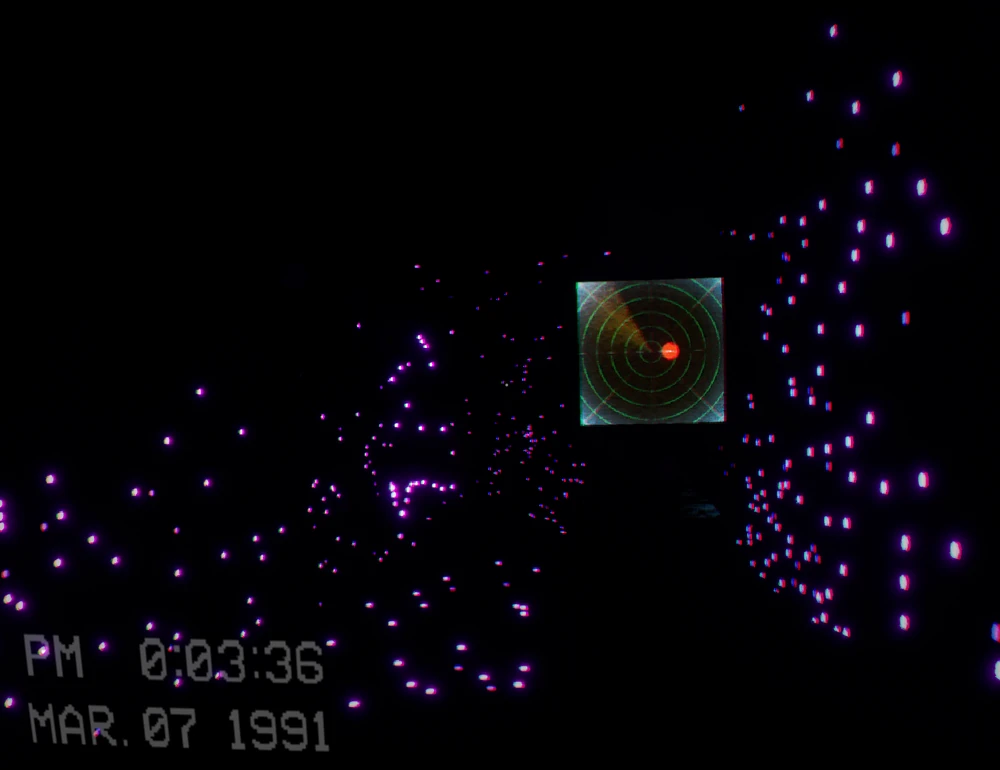
How it works: The scanner emits laser points that stick to walls and objects, outlining the geometry of the room. It is your only reliable way to see the path ahead.
The maze is inhabited by Wretches (also referred to as Behemoths in the video).
The maze is complex and full of dead ends. As demonstrated in the walkthrough:
Near the end of the level, you may encounter a metal door marked with the M.E.G. logo.
We use this as the quick “don’t make the same mistake twice” checklist. If your room, spawn, or prompt does not match the video, stop and check the normal route first—patches and co-op timing can make an old shortcut look tempting when it simply will not work.
Make sure this is actually the step you are on. If an item or prompt is missing, backtrack one room and check the inventory first.
Look around slowly before guessing. Props can hide chairs, switches, notes, and pickups; a second camera angle is usually faster than brute force.
Call out what was pressed, collected, or opened. It prevents the classic “we all thought somebody did it” reset.
If a skip behaves inconsistently, leave it and take the intended route. A clean run beats getting stuck in geometry.
In Lights Out, use names and landmarks, not “over here.” Keep a light carrier in front and make the second player call doors behind the group so the team does not split at a dark junction.
What each entity does on this route, and the move that keeps the encounter under control.
A Wretch inhabits the dark maze. It cannot see there, appears as a red dot on LiDAR, and can be tracked by breathing when close.
Use short scans, crouch as the dot moves toward the screen center, and pass along the side without sprinting or crowding it.